Hey everyone!
In September 2016, Fujifilm announced the release of their latest instax mini film product: the Fujifilm instax mini Monochrome film (“Monochrome film”)!
As there are many reviews floating around about this new product, we thought that we would get the film and write about our first impressions about using this film. Further, we have noted how different cameras and developers affect how the chemical spread and the ‘colour’ shown on the film. We should also mention that this entry is not a review; rather, it is an exposition of our snapshots and results!
The packaging for the Monochrome film is the same as the instax mini color film: there are 10 frames per pack, ISO is at 800, and the film size is still the same (about the size of a name card).
After getting our hands on the Monochrome film, we sat down to testing it right away!

Our Tips when Using the Monochrome Film
One of the challenges we face when using the Monochrome film was how to achieve the right composition for monochrome shots. We immediately went to research on tips to do so, and found the following tips extremely helpful:
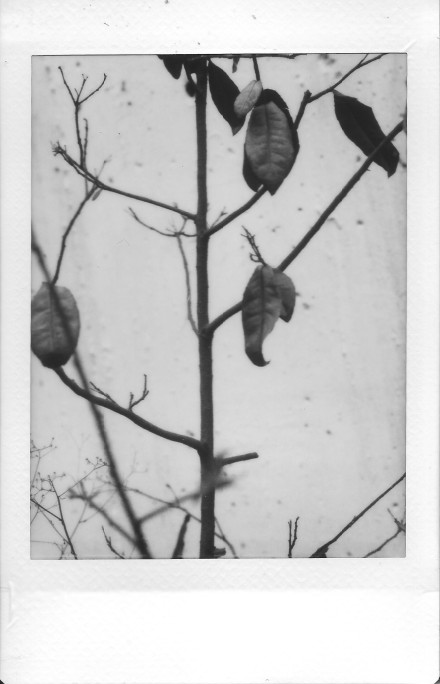
- Contrast: Find photos with strong contrast, so that in monochrome shots, they are more evident.
- Tones: This is linked to the first tip, such that with pictures of varying tones, they will affect how strong the monochromatic tones appear on the film!
- Remember that your eyes is used to seeing colour (unless you’re partially or fully colour blind), so the first two tips must be borne in mind.
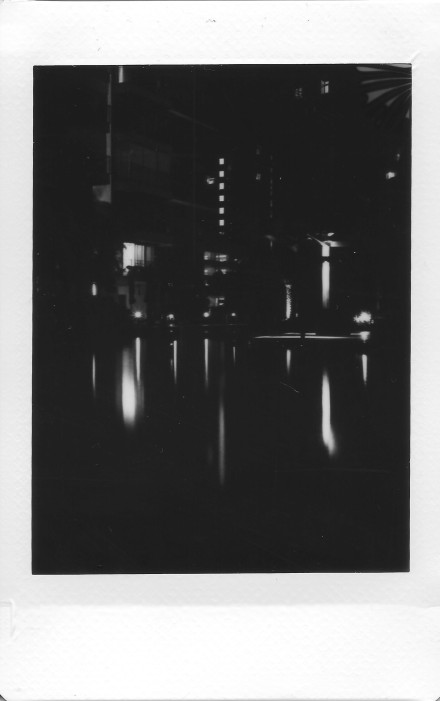
- Bright light is always your best friend; although in the night, using external lighting or long exposures can create some beautiful shots!


Other Observations, and a Possible Concern?
We do not think that inserting different coloured filters for the lens would increase contrast in the Monochrome film, especially with the Fujfilm Neo Classic 90 as there is an electric exposure meter that adjusts the intensity of the photos.
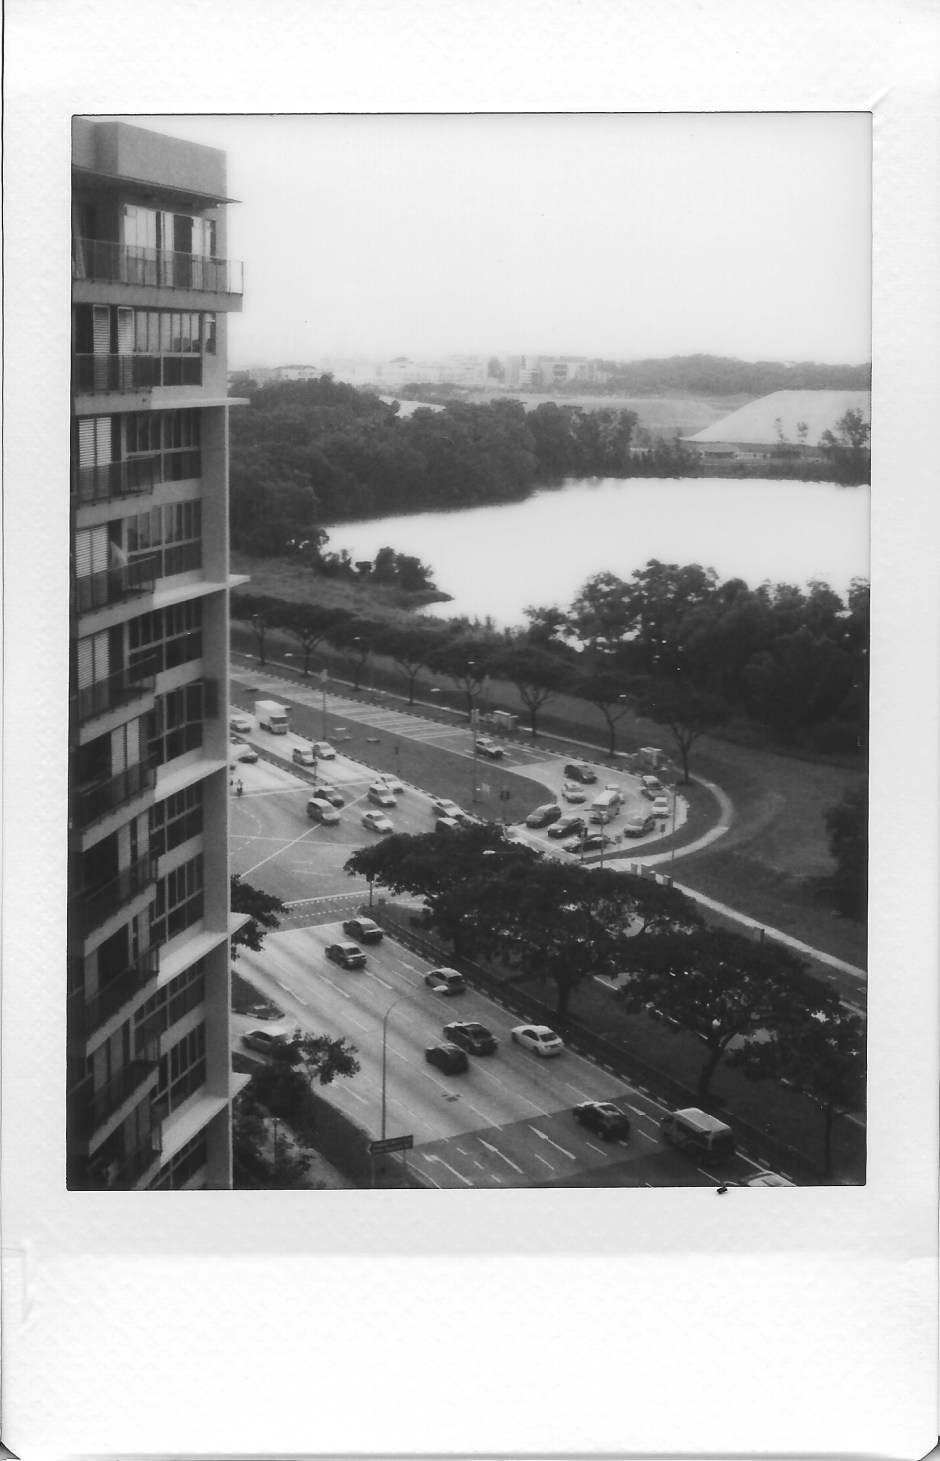
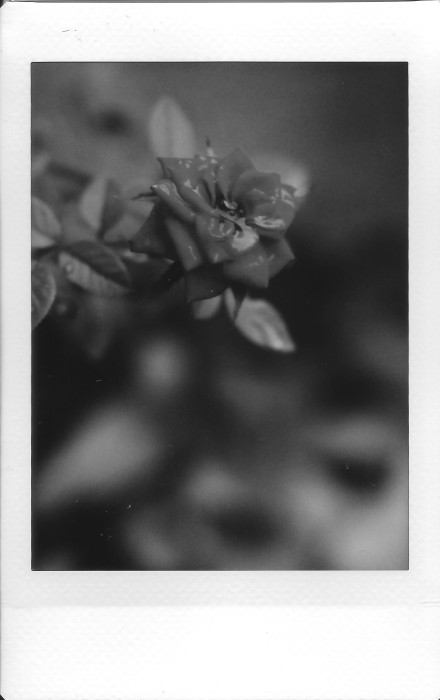
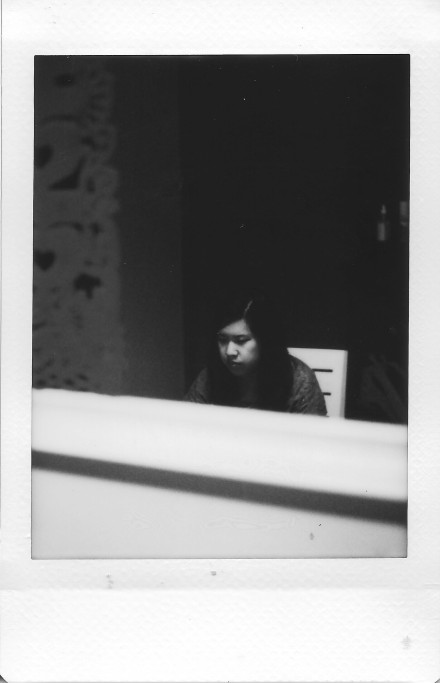
All the instant films featured here were shot with a modified Mamiya C33, which we were simply amazed by the quality of the lens.

We have read numerous reviews that comment that yellow tones seem to be more prominent than usual. Therefore we tried it when shooting this pooh bear. The above Monochrome film was scanned in Greyscale, while the same instant film below is scanned in colour.
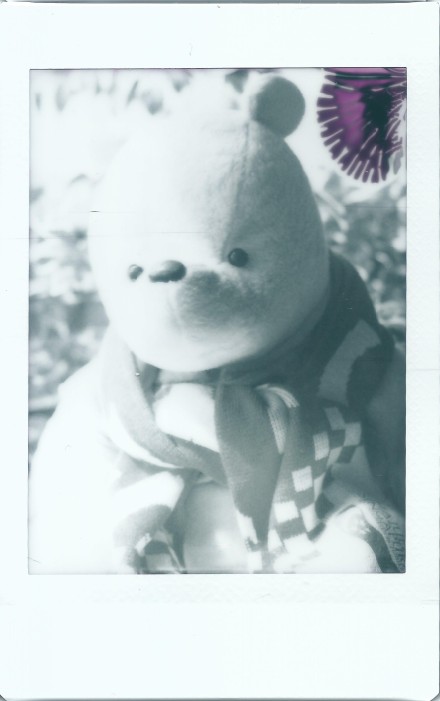
Noticed the “fern-like” magenta pattern on the top right? Before you panick, that is more likely due to the roll developer in the modified Mamiya. However, it is interesting to note that magenta is part of the ‘colours’ used for the Monochrome film!
All in all, we love the tones and contrast of the Monochrome film. As we have not yet tested the film on other instant film cameras e.g. Lomo’Instant or the Mint InstantFlex, it would be wrong to call this a review of the Monochrome film. Using the Monochrome film certain adds another layer of creativity to instant photography, and we are pleased with the developments to the Monochrome film!
Till next time,
Damianwithsandra

Interesting post and great pictures!
LikeLike
Thanks!! We love your camera modification!
LikeLike
Thanks for the write-up. I just got hold of my first monochrome film, but still haven’t loaded it in the camera. I was a bit surprised seeing the DOF in the rose photo and was wondering how you guys achieved so much DOF using an Instax camera, and then I read the words “Mamiya C33” and that explains it I guess. 🙂 Hope to see more reviews in your site. Also I would be really interested in reading bag reviews. I am always curious to know what bags other photographers use. Hope you will consider this request. Thanks.
LikeLiked by 1 person
Hi Dilip! Thanks for the kind feedback and your suggestions! 🙂 We will most definitely write an entry of our bag gear sometime soon!
LikeLiked by 1 person
That would be awesome! Thanks. 🙂
LikeLike